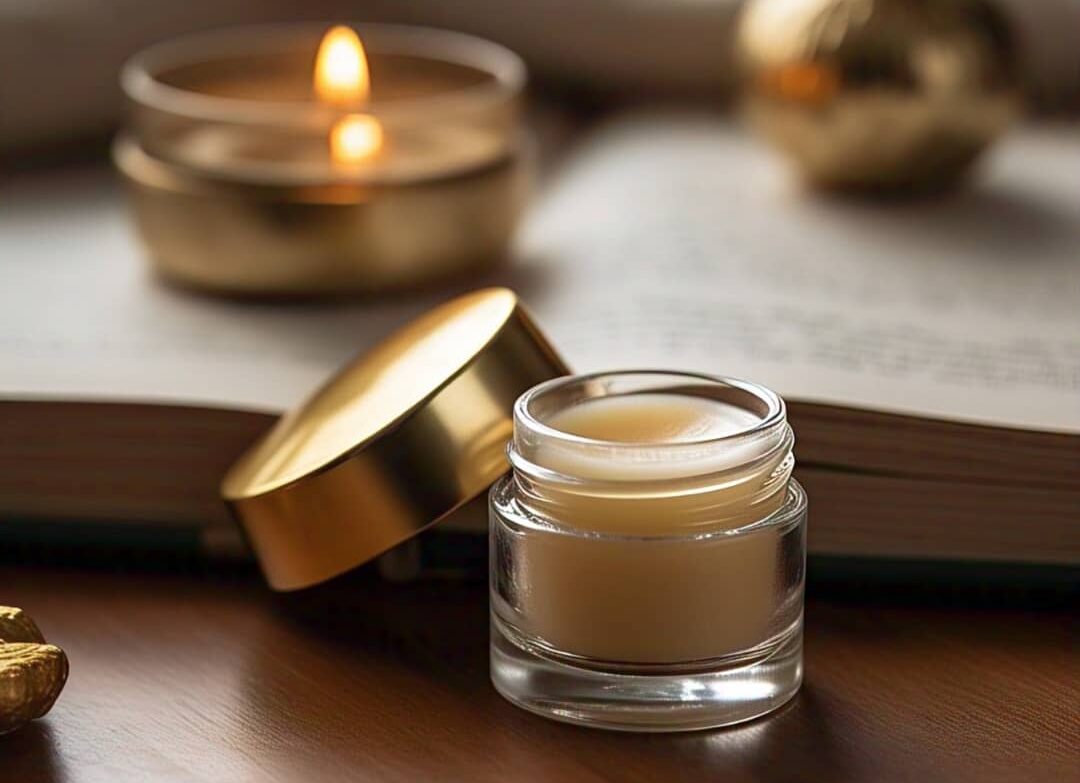
Beeswax lip balms are a fantastic way to keep your lips hydrated, smooth, and protected from harsh environmental conditions. Unlike commercial lip balms filled with synthetic additives, DIY beeswax lip balms use natural ingredients to deeply nourish and heal dry or chapped lips. Plus, making your own lip balm allows you to customize the formula to suit your preferences. In this guide, we’ll walk you through the simple process of creating your own beeswax lip balm at home.
Benefits of Using Beeswax in Lip Balm
Beeswax is a key ingredient in natural lip balms for several reasons:
- Moisture Locking: Creates a protective barrier to retain moisture.
- Healing Properties: Soothes dry, cracked lips with natural antibacterial benefits.
- Long-Lasting Hydration: Keeps lips soft for hours without frequent reapplication.
- Natural and Chemical-Free: A great alternative to synthetic ingredients found in many store-bought lip balms.
Essential Ingredients for Beeswax Lip Balm
To create a simple and nourishing beeswax lip balm, you’ll need:
- 1 tablespoon beeswax pellets (or grated beeswax)
- 1 tablespoon coconut oil (or almond oil, jojoba oil, or olive oil)
- 1 tablespoon shea butter (or cocoa butter)
- 5-10 drops essential oil (such as peppermint, vanilla, lavender, or orange for fragrance)
- ½ teaspoon honey or vitamin E oil (optional for extra nourishment)
Optional Additions
- Natural colorants (beetroot powder for a rosy tint, cocoa powder for a nude shade)
- SPF oil (such as raspberry seed oil for sun protection)
Step-by-Step Guide to Making Beeswax Lip Balm
Step 1: Prepare Your Ingredients and Tools
Before you begin, gather the following tools:
- A double boiler (or a heat-safe bowl over a saucepan of simmering water)
- A stirring spoon or wooden stick
- Empty lip balm tubes or small containers
Step 2: Melt the Beeswax and Oils
- Fill a saucepan with a few inches of water and place a heat-safe bowl on top to create a double boiler.
- Add the beeswax, coconut oil, and shea butter to the bowl.
- Stir occasionally until everything is fully melted and combined.
Step 3: Add Essential Oils and Optional Ingredients
- Remove the mixture from heat.
- Stir in essential oils and any optional ingredients like honey, vitamin E oil, or natural colorants.
- Mix well to ensure even distribution.
Step 4: Pour the Mixture into Containers
- Carefully pour the melted balm into lip balm tubes or small containers.
- Allow the balm to cool and solidify completely (about 30-60 minutes).
- Once set, cap the containers and store them in a cool, dry place.
Step 5: Use and Enjoy!
Your homemade beeswax lip balm is now ready to use! Apply it whenever your lips need hydration and protection.
Tips for Customizing Your Lip Balm
- Adjust the Texture: Add more beeswax for a firmer balm or more oil for a softer consistency.
- Experiment with Scents: Try different essential oils to create your favorite aroma.
- Make It Tinted: Add natural colorants for a subtle hint of color.
Conclusion
Creating your own beeswax lip balm is an easy, rewarding way to take control of what goes onto your lips. With just a few simple ingredients, you can craft a nourishing, long-lasting balm tailored to your preferences. Whether for personal use or as a thoughtful homemade gift, DIY beeswax lip balm is a must-try project for anyone who loves natural skincare!

