Why Choose Shea Butter Soap?
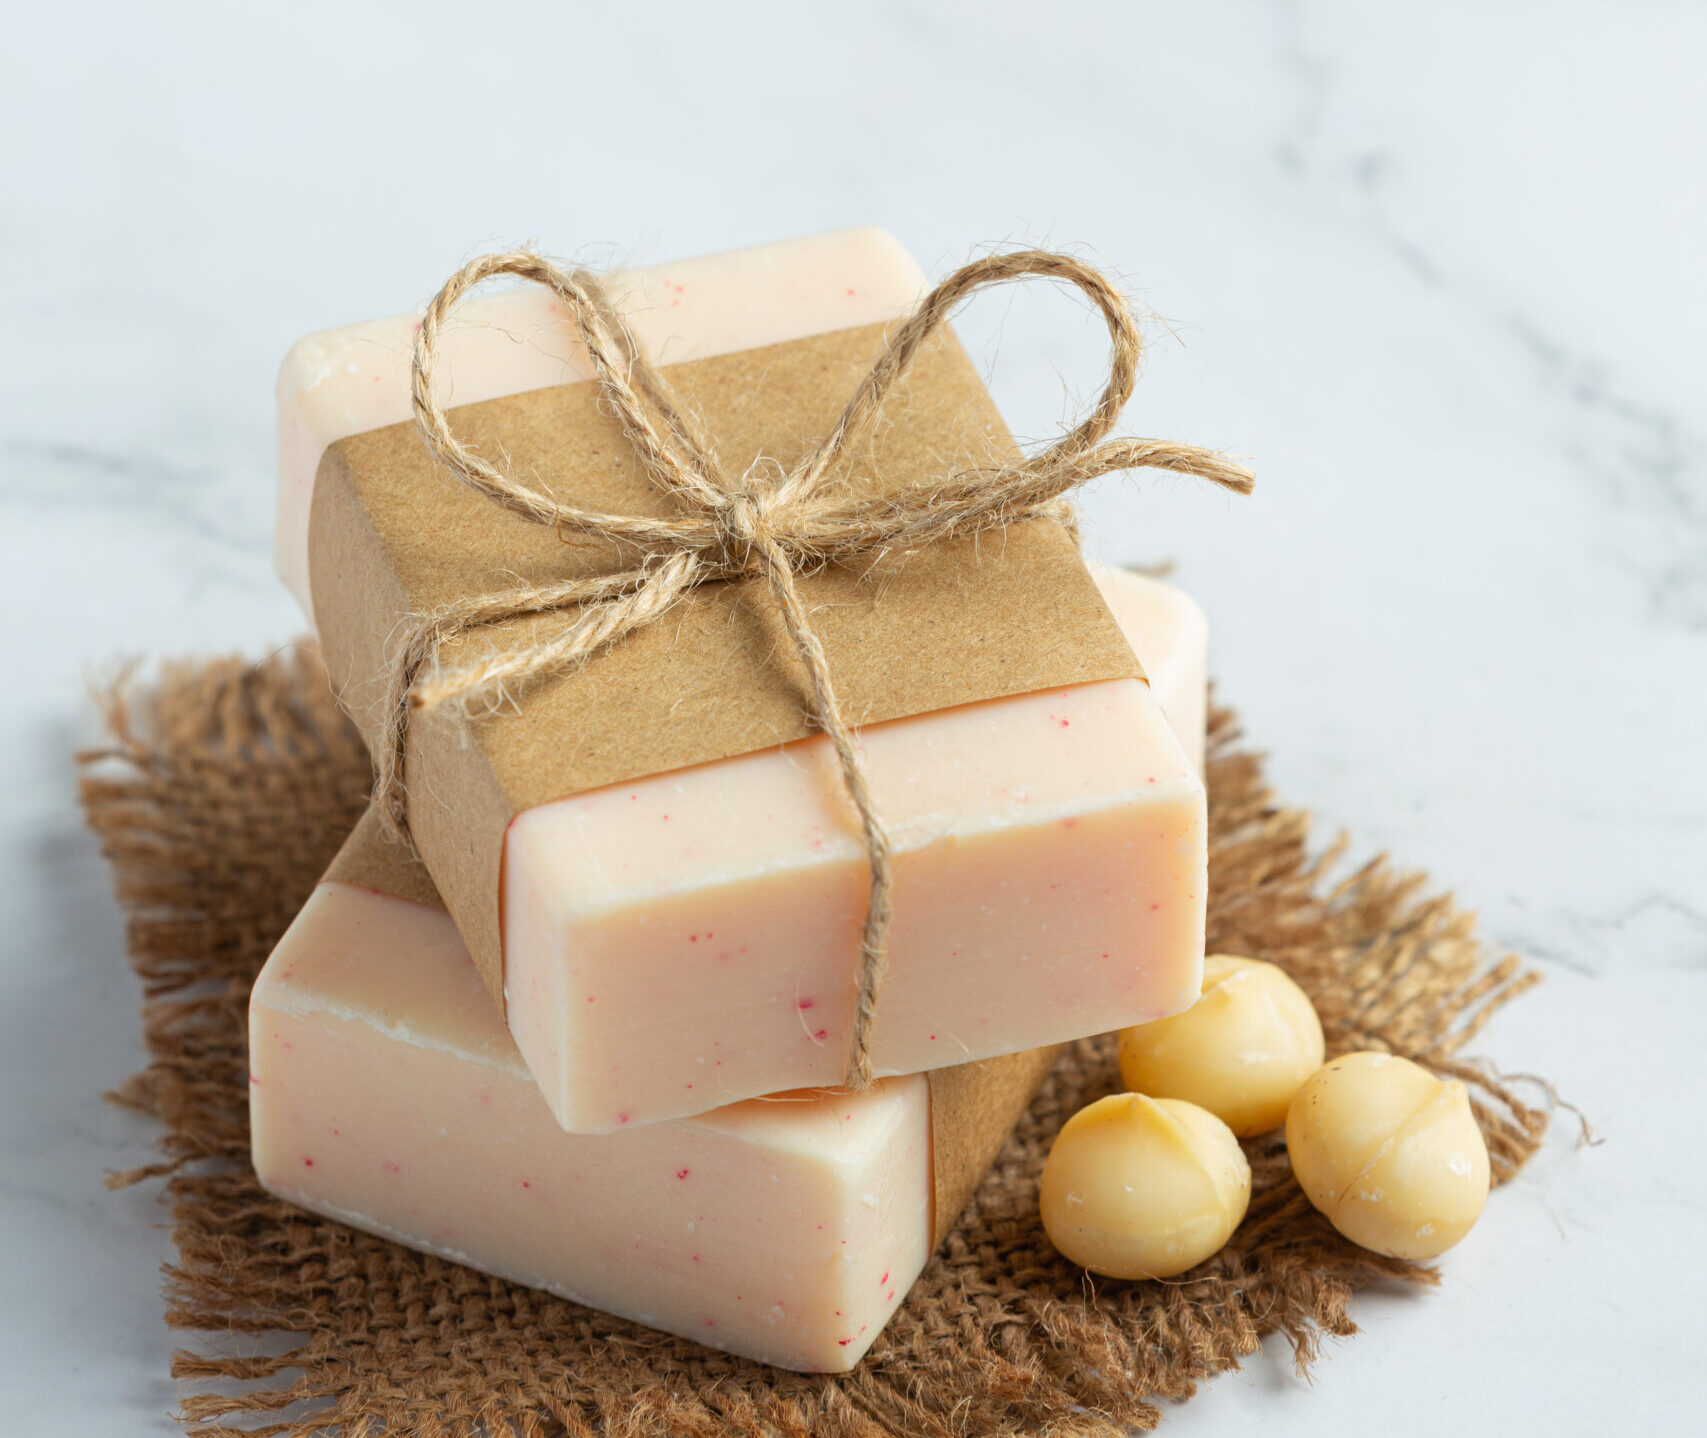
Shea butter has been cherished for centuries for its exceptional moisturizing and nourishing properties. Derived from the nuts of the shea tree, this natural fat is rich in vitamins A, E, and F, which are essential for maintaining healthy skin. Shea butter soap, in particular, combines the benefits of this luxurious ingredient with the cleansing properties of soap, making it a must-have in any skincare routine. Unlike commercial soaps laden with synthetic chemicals, homemade shea butter soap offers a gentle and chemical-free alternative, perfect for sensitive skin.
One of the standout benefits of shea butter soap is its ability to deeply hydrate the skin. Its high-fat content creates a protective barrier, locking in moisture and preventing dryness. Additionally, the vitamins and antioxidants in shea butter promote skin elasticity and reduce the appearance of fine lines, making it an anti-aging powerhouse. Shea butter also contains anti-inflammatory compounds, making it ideal for soothing irritated or inflamed skin conditions like eczema and psoriasis. If you’re seeking a natural, eco-friendly way to pamper your skin, homemade shea butter soap is an excellent choice.
Benefits of Homemade Shea Butter Soap
- Intense Moisturization: The creamy texture of shea butter penetrates deep into the skin, leaving it soft and supple.
- Rich in Antioxidants: Vitamins A and E help combat free radicals, promoting a youthful glow.
- Gentle on Skin: Free from harsh chemicals, this soap is suitable for all skin types, including sensitive and acne-prone skin.
- Healing Properties: Shea butter’s anti-inflammatory and soothing properties make it effective for managing skin conditions.
- Customizable: By making it at home, you can tailor the soap’s ingredients to suit your preferences and needs.
Step-by-Step Guide to Making Homemade Shea Butter Soap
Ingredients You’ll Need:
- 1 cup of shea butter (raw and unrefined for maximum benefits)
- 1 cup of coconut oil
- 1 cup of olive oil
- ½ cup of castor oil
- 4.5 ounces of lye (sodium hydroxide)
- 10 ounces of distilled water
- Essential oils of your choice (e.g., lavender, tea tree, or peppermint)
- Optional additives (e.g., dried herbs, oats, or exfoliating beads)
Tools Required:
- Safety goggles and gloves (to handle lye safely)
- A digital kitchen scale
- A heat-resistant glass or stainless steel bowl
- A hand blender or whisk
- A soap mold
- Parchment paper (to line the mold)
- A thermometer
Instructions:
- Prepare Your Workspace: Ensure your work area is well-ventilated and free from distractions. Lay out all your tools and ingredients to have everything within reach. Wear your safety gear to protect yourself while handling lye.
- Mix the Lye Solution: Carefully add the lye to the distilled water (never the other way around) in a heat-resistant bowl. Stir until the lye dissolves completely. This mixture will become very hot, so set it aside in a safe place to cool to about 100°F.
- Melt the Oils: In a separate bowl, combine the shea butter, coconut oil, olive oil, and castor oil. Heat the mixture gently using a double boiler until all the oils are melted and thoroughly blended. Let the oils cool to around 100°F, similar to the lye solution.
- Combine Lye and Oils: Slowly pour the cooled lye solution into the melted oils, stirring continuously. Use a hand blender to emulsify the mixture until it reaches a “trace” consistency, which means it will be slightly thick and leave trails when drizzled.
- Add Essential Oils and Additives: Once the soap mixture has reached trace, add your chosen essential oils and any optional additives like dried lavender, oats, or exfoliants. Mix thoroughly to distribute evenly.
- Pour into Mold: Line your soap mold with parchment paper and pour the soap mixture into it. Tap the mold gently to remove air bubbles and smooth the surface with a spatula.
- Cure the Soap: Cover the mold with a towel and let the soap set for 24 to 48 hours. Once hardened, remove the soap from the mold and cut it into bars.
- Final Cure: Place the soap bars on a rack in a cool, dry place with good airflow. Allow them to cure for 4 to 6 weeks to ensure all lye is neutralized and the soap hardens properly.
Tips for Success:
- Always measure your ingredients accurately for the best results.
- Use high-quality, natural ingredients to maximize the benefits of your soap.
- Experiment with different essential oils and additives to create unique scents and textures.
Conclusion
Making your own shea butter soap is a rewarding and creative process that lets you take control of what goes on your skin. With its incredible moisturizing properties and healing benefits, this handmade soap is a luxurious treat for yourself or a thoughtful gift for loved ones. By following the steps outlined above, you can craft a soap that not only nourishes your skin but also aligns with your commitment to natural and sustainable living.


