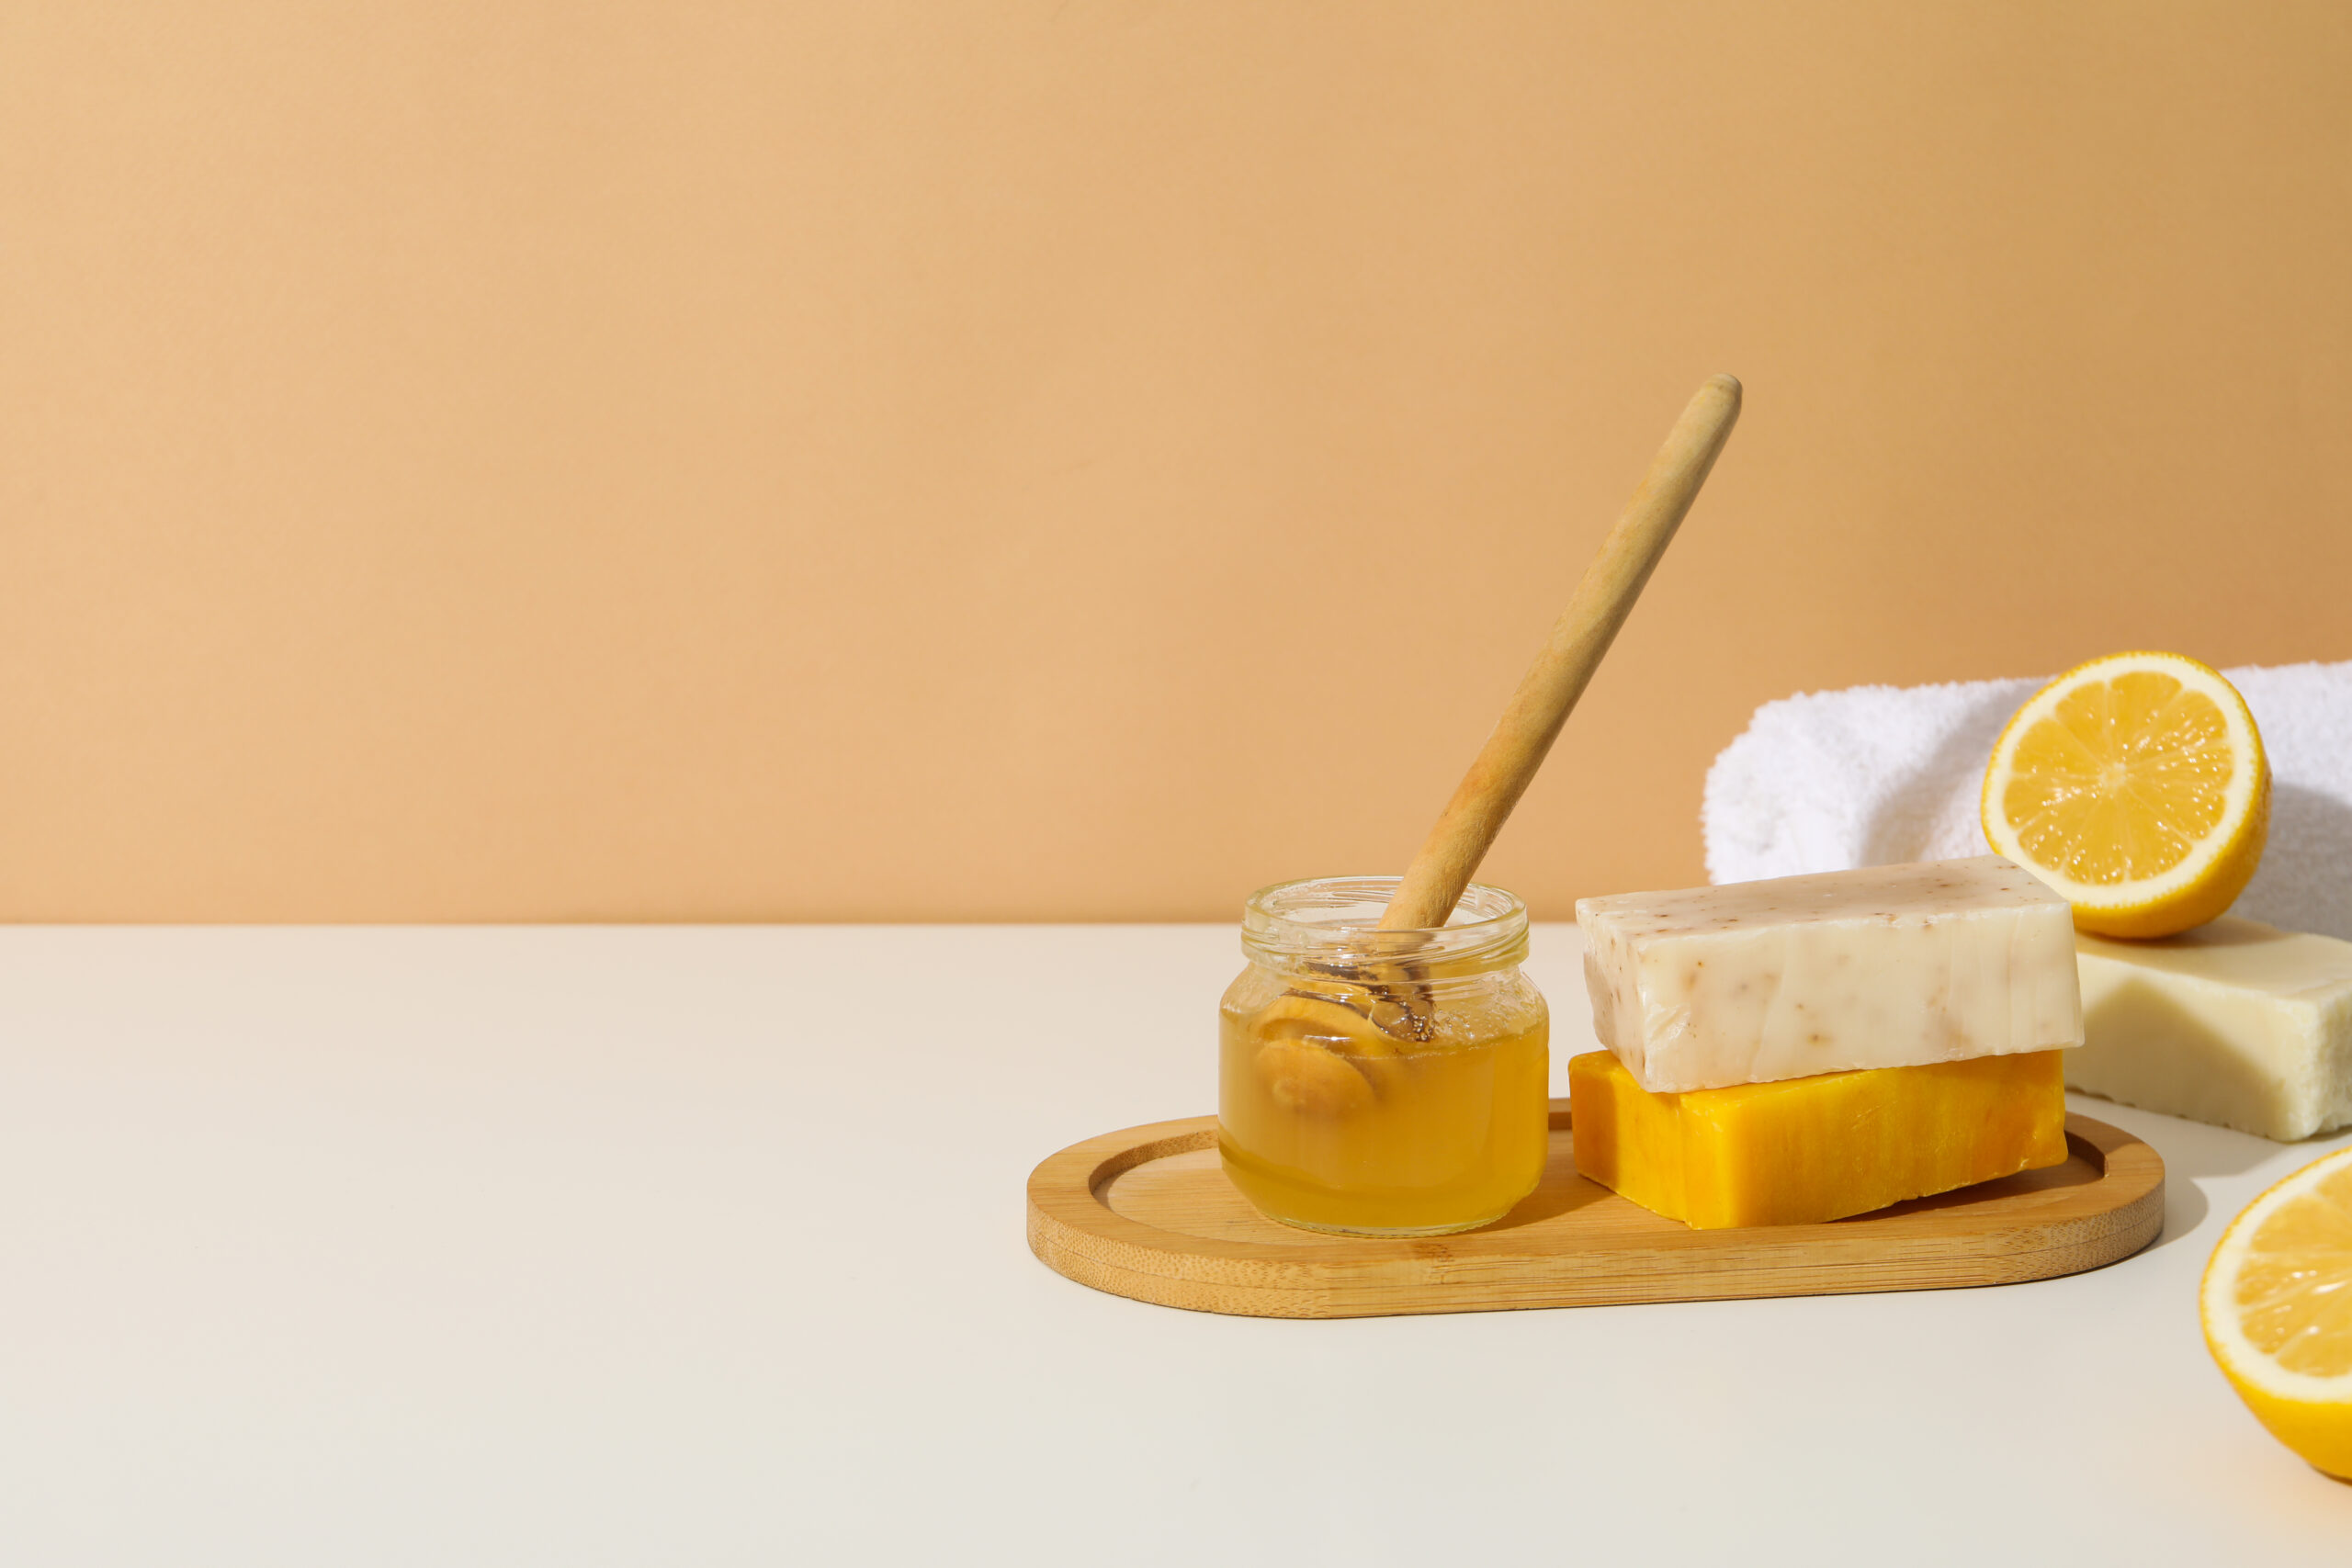
Honey has been used for centuries in skincare, revered for its numerous benefits. Whether in face masks, hair treatments, or soaps, honey’s natural properties can improve your skin’s texture and appearance. Making your own honey soap at home is not only a fun DIY project, but it also allows you to control the ingredients and ensure that your soap is as gentle and nourishing as possible. This homemade honey soap recipe is perfect for anyone who wants to pamper their skin with an all-natural product, free from chemicals and additives.
Benefits of Honey Soap for Your Skin
Honey soap is packed with natural benefits that can transform your skincare routine. Here are some of the key reasons why honey soap is worth adding to your beauty regimen:
- Moisturizing: Honey is a humectant, which means it draws moisture from the air and helps retain it in your skin. This makes honey soap a great option for individuals with dry or dehydrated skin.
- Antibacterial Properties: Honey is known for its antibacterial properties, which can help fight acne-causing bacteria, making it beneficial for those with oily or acne-prone skin.
- Soothing and Healing: Honey can help soothe irritated skin and heal wounds or scars. Its anti-inflammatory properties make it a great ingredient for sensitive skin.
- Rich in Antioxidants: Honey is rich in antioxidants, which protect the skin from environmental stressors and premature aging. The antioxidants in honey soap can help keep your skin looking youthful and vibrant.
- Gentle Exfoliation: Honey helps exfoliate the skin without being too harsh, removing dead skin cells and leaving your skin feeling smooth and refreshed.
With all these benefits, honey soap is the perfect addition to your daily skincare routine. Plus, making your own honey soap ensures that you’re using all-natural, high-quality ingredients that are free from harmful chemicals.
Step-by-Step Guide to Making Homemade Honey Soap
Now that you know the benefits, it’s time to get your hands dirty (in a good way!). Follow this simple step-by-step guide to create your own honey soap at home.
What You’ll Need:
- Melt and Pour Soap Base (You can use a glycerin soap base, shea butter soap base, or coconut oil soap base)
- Honey (Raw, organic honey is best for skincare)
- Essential Oils (Optional, for fragrance — lavender, chamomile, or tea tree oil work well)
- Coconut Oil (To add extra moisture)
- Colorants (Optional, if you want to add a bit of color to your soap)
- Soap Molds (Silicone molds work well)
Step 1: Prepare Your Soap Base
Start by cutting the soap base into small cubes. This helps it melt evenly and prevents overheating. Place the soap cubes into a heat-safe glass container or bowl.
Step 2: Melt the Soap Base
Melt the soap base in a microwave-safe bowl in short intervals (about 30 seconds at a time), stirring between each interval until the soap is completely melted. If you prefer, you can melt the soap base using the double boiler method.
Step 3: Add Honey and Coconut Oil
Once the soap base has melted, it’s time to add the key ingredients: honey and coconut oil. For a basic recipe, you can add 2 tablespoons of honey and 1 tablespoon of coconut oil for every 1 pound of soap base. Stir well to ensure that the honey and coconut oil are thoroughly incorporated into the soap mixture.
Step 4: Add Essential Oils (Optional)
If you want your soap to have a pleasant fragrance, now is the time to add a few drops of your favorite essential oil. Lavender and chamomile are great choices for their calming properties, while tea tree oil is perfect for acne-prone skin due to its antibacterial qualities.
Step 5: Pour the Soap into Molds
Carefully pour the melted soap mixture into your soap molds. If you want to add color, now is the time to mix in a natural colorant, such as mica powder or a few drops of liquid soap dye.
Step 6: Let the Soap Set
Allow the soap to cool and harden completely. This can take about 1-2 hours. If you’re in a hurry, place the soap in the refrigerator for 30 minutes to speed up the process.
Step 7: Remove the Soap from the Molds
Once your soap has fully set, gently pop it out of the molds. You should now have beautiful, natural honey soap ready to use.
Tips for Storing and Using Your Homemade Honey Soap
- Storage: Store your homemade honey soap in a cool, dry place. If you made multiple bars, you can wrap them in parchment paper or store them in airtight containers to keep them fresh.
- Use: Use your homemade honey soap daily to enjoy its moisturizing and soothing benefits. It’s perfect for both your face and body, especially for those with dry or sensitive skin.
- Customization: Feel free to experiment with different additions, such as oats for exfoliation or dried flowers for a decorative touch. You can even swap the coconut oil with shea butter for a different texture.
Conclusion
Making your own homemade honey soap is a rewarding and easy DIY project that brings plenty of benefits to your skincare routine. With its moisturizing, antibacterial, and healing properties, honey soap is the perfect natural cleanser for all skin types. By following this simple recipe, you can enjoy the luxurious feel of homemade soap while knowing exactly what’s in it. Plus, it makes a fantastic gift for friends and family who appreciate natural skincare products!


