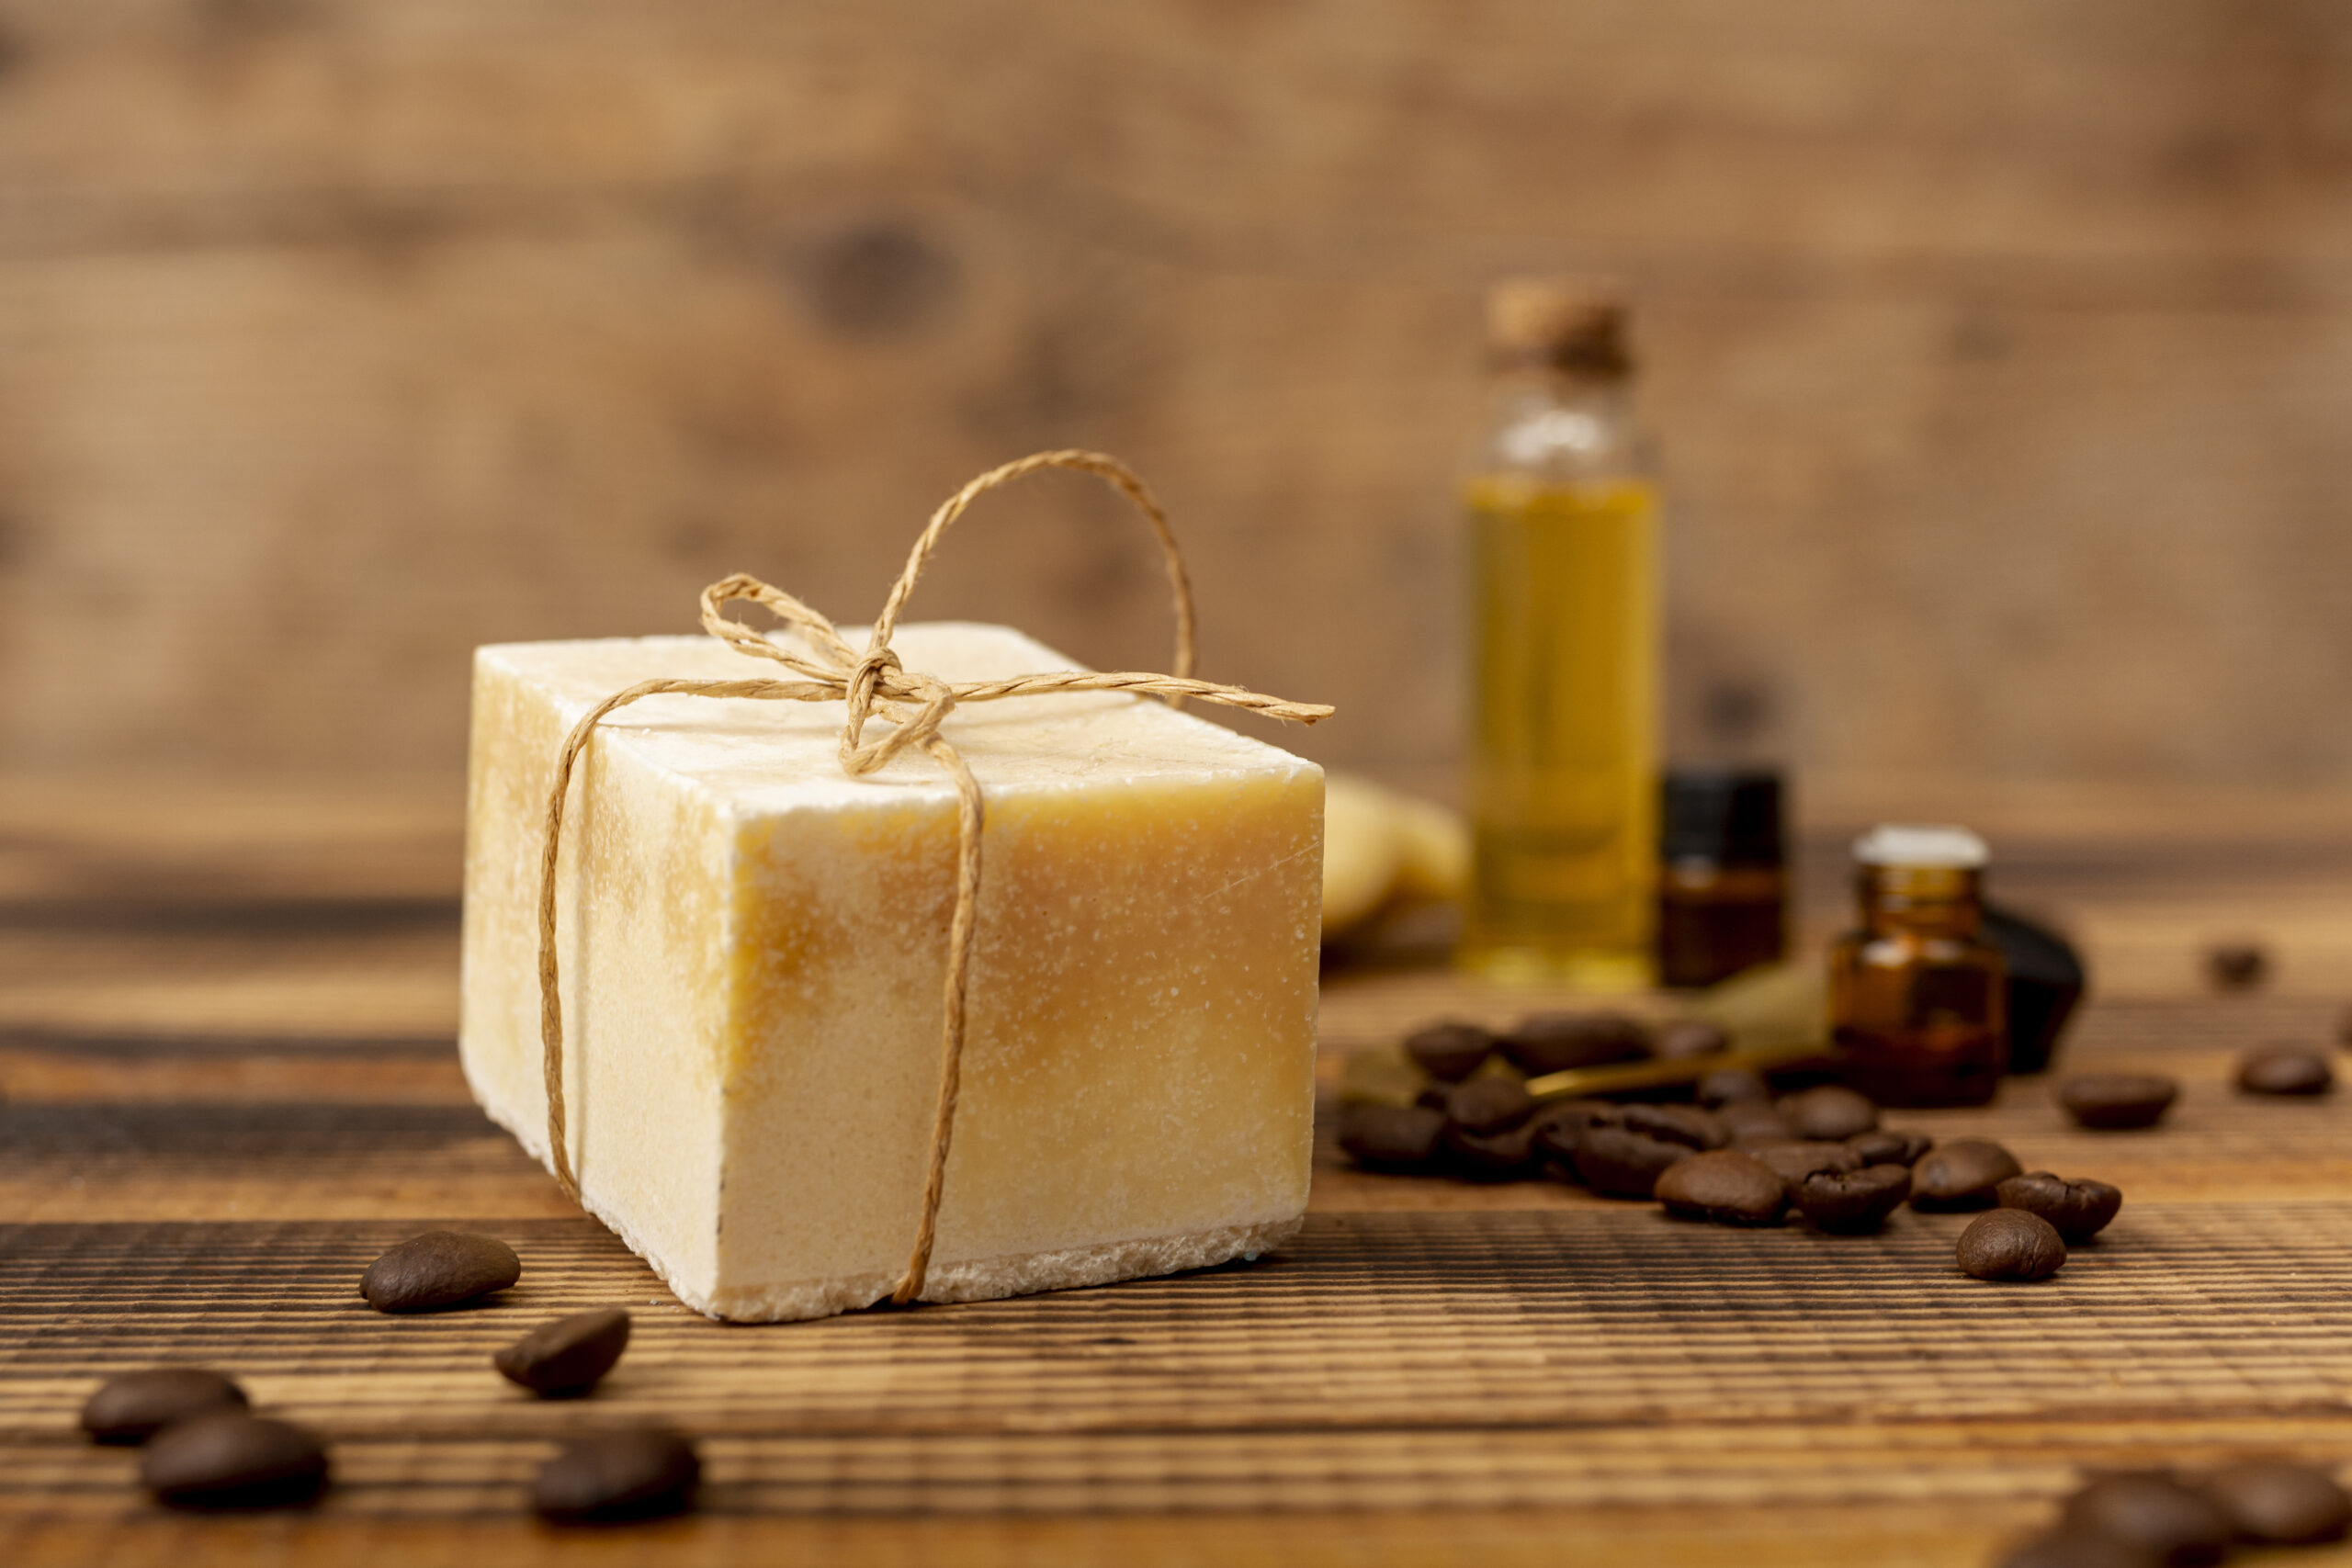
Cocoa butter is a beloved ingredient in skincare products, known for its rich, creamy texture and its ability to deeply hydrate and nourish the skin. Making your own cocoa butter soap at home allows you to enjoy the benefits of this powerful moisturizer without the added chemicals or fragrances found in store-bought soaps. Cocoa butter soap is an excellent way to pamper your skin, leaving it soft, smooth, and deeply nourished. With a few simple ingredients and some basic steps, you can create your own homemade cocoa butter soap that’s both luxurious and natural.
Benefits of Cocoa Butter Soap
Cocoa butter has been used for centuries as a natural remedy for dry skin, and when it’s used in soap, it brings numerous benefits. Here are a few reasons why cocoa butter soap should be a staple in your skincare routine:
- Deep Moisturization: Cocoa butter is incredibly hydrating, making it perfect for dry and flaky skin. It helps lock in moisture, keeping your skin soft and smooth.
- Rich in Antioxidants: The antioxidants in cocoa butter help protect the skin from free radical damage and environmental stressors, preventing premature aging and promoting healthy, youthful skin.
- Improves Skin Elasticity: Cocoa butter is known for its ability to improve the elasticity of the skin, helping to reduce the appearance of scars, stretch marks, and fine lines.
- Soothing and Calming: If you have irritated or sensitive skin, cocoa butter can help calm inflammation and reduce redness. Its gentle nature makes it perfect for those with eczema or psoriasis.
- Naturally Fragrant: Cocoa butter has a mild, natural chocolate scent that can be soothing and pleasant, making it an ideal base for your homemade soap.
By making your own cocoa butter soap, you can enjoy all of these benefits in a product that’s completely customizable and free from artificial fragrances and preservatives.
Step-by-Step Guide to Making Homemade Cocoa Butter Soap
Making homemade cocoa butter soap is a simple process that requires only a few ingredients. Follow these steps to create your own batch of creamy, moisturizing soap.
What You’ll Need:
- Cocoa Butter (Raw, unrefined cocoa butter is best for skincare)
- Melt and Pour Soap Base (Glycerin, shea butter, or goat’s milk soap base work well)
- Coconut Oil (To enhance moisture and create a smoother texture)
- Essential Oils (Optional, for fragrance — vanilla, lavender, or sandalwood are great choices)
- Soap Molds (Silicone molds are easy to work with)
- Colorants (Optional, if you want to add color to your soap)
Step 1: Prepare the Soap Base
Start by cutting the soap base into small cubes. This will help it melt evenly. Place the cubes in a heat-safe container, such as a glass measuring cup or a Pyrex bowl.
Step 2: Melt the Soap Base
Melt the soap base in the microwave in 30-second intervals, stirring in between. Alternatively, you can melt the soap base using the double boiler method. Be careful not to overheat the soap.
Step 3: Add Cocoa Butter and Coconut Oil
Once the soap base is fully melted, add about 2 tablespoons of cocoa butter and 1 tablespoon of coconut oil for every 1 pound of soap base. Stir well to ensure the oils are completely incorporated into the mixture.
Step 4: Add Essential Oils (Optional)
To add fragrance to your cocoa butter soap, drop in a few drops of essential oil. Vanilla essential oil is a natural complement to cocoa butter’s scent, or you could choose lavender for a calming effect or sandalwood for a grounding, earthy aroma.
Step 5: Pour the Soap into Molds
Carefully pour the melted soap mixture into your soap molds. If desired, you can add a small amount of natural colorant to make the soap visually appealing.
Step 6: Let the Soap Set
Allow the soap to cool and solidify for at least 1-2 hours. If you’re in a hurry, you can place the molds in the fridge to speed up the setting process.
Step 7: Remove the Soap from the Molds
Once the soap has completely hardened, gently remove it from the molds. You now have beautifully crafted homemade cocoa butter soap!
Tips for Storing and Using Your Homemade Cocoa Butter Soap
- Storage: Store your cocoa butter soap in a cool, dry place. If you’ve made several bars, you can wrap them in parchment paper or keep them in an airtight container to preserve their freshness.
- Use: Cocoa butter soap can be used on both your face and body. It’s especially beneficial for areas that tend to be dry, such as elbows, knees, and feet. Use daily for soft, hydrated skin.
- Customization: Feel free to experiment with different additions, such as oats for exfoliation or dried flowers like rose petals for decoration.
Conclusion
Cocoa butter soap is a wonderful way to nourish and pamper your skin with the natural goodness of cocoa butter. Its deep moisturizing properties, rich antioxidants, and soothing benefits make it an essential addition to any skincare routine. By following this easy step-by-step guide, you can create your own batch of luxurious, homemade cocoa butter soap that will leave your skin feeling soft, smooth, and rejuvenated. Plus, making your own soap ensures that you know exactly what goes into the product, making it a healthier and more sustainable choice for your skin.
4o mini


